Orange Rosemary Shortbread

While we were in Hawaii, I really wanted to bake something for a family gathering. With a very limited kitchen... no stand mixer, no hand mixer, no measuring cups/scale (!!), and no rolling pin, I went in search of something I could make that would be delicious and be pleasing to the eye! 

Behold... the SHORTBREAD COOKIE! What a great way to get back to improv baking! The key to shortbread is similar to sugar cookies. Make sure the dough stays cold, cold, cold after you roll it out and all through the shaping process. Here's what you'll need: 

- Mixing bowls, wooden spoon, plastic wrap, parchment paper, a glass cup or wine bottle (as your rolling pin), large chef's knife, baking sheets. 

Orange Rosemary Shortbread Cookies
Makes 2 Dozen cookies depending on your cutters

  •  1 1/2 cups of unsalted butter, room temp
  • 3/4 cup of granulated sugar
  • 1/8 cup of clover honey 
  • 1 teaspoon pure vanilla extract
  • 3 1/2 cups all-purpose flour
  •  ¼ teaspoon salt 
  • zest from 2 large navel oranges, separated
  • 2 tablespoons of fresh rosemary, chopped 
  • 2 cups dark chocolate, melted

1.   In a bowl, cream the butter and sugar together with your wooden spoon or using your stand mixer. Add in vanilla extract and mix until incorporated. 

2. Scrape down the sides of your bowl and add flour, salt and orange zest. Mix until well incorporated. 

3. Remove dough from the bowl and shape into two round, flat discs. Wrap with plastic wrap and place into the fridge for 30 minutes. 

4. After dough is chilled, preheat oven to 350F. 

5. Roll out the chilled dough till it's about 1/2 inch thick. Place on a parchment lined baking sheet and put it into the freezer for 10 minutes to re-chill. Repeat rolling out the dough with the second dough disc. 

6. Remove rolled dough from the freezer and cut rectangles with your kitchen knife (or use cutters at this time. 

7. Line more baking sheets with parchment paper and space out cut cookies at least 1 inch apart. Lightly sprinkle each cookie with chopped rosemary. 

8. Bake up to 2 sheets in preheated oven for 20-25minutes until the edges start to turn golden. When you touch the edges of the cookie they should feel stiff but the middles of the cookies will be a little soft. Rotate sheets at least once. 

9. Remove cookies from the oven and let it cool for 1 minute on the sheet. If the cookies browned too much in the oven, then remove immediately to a cooling rack. 

10. Let cookies cool completely before dipping in chocolate. 

11. In a small bowl, microwave 1 cup of chocolate chunks for 30 seconds then 10 seconds at a time until you can stir the melted chocolate. Don't overheat. Add in the rest of the chocolate and continue to stir until that chocolate has melted into the bowl. Stir vigorously until the chocolate is smooth and slightly cooled. 

12. Zest your second orange and set aside in a small bowl. 

12. Dip each cooled cookie into the chocolate, sprinkle chocolate section with orange zest and then set on parchment paper for the chocolate to set. 

17.  Store dried cookies in an air-tight container for a week.



Strawberry Black Pepper Mini Pavlovas

Photo: The Great American Baking Show

Photo: The Great American Baking Show

Pavlovas are one of my absolute FAVORITE desserts to bring to dinner parties. They're surprisingly easy so long as you have a reliable oven with consistent temperatures. Get an oven thermometer if you don't already have one. That's how I like to make sure the temperatures are accurate. 

This pavlova was so fun to test because you can pretty much add any sort of freeze dried ingredients to the pavlova base and get these awesome bursts of flavor. One of my favorite desserts is a black pepper strawberry shortcake. Using that as inspiration, I used freeze dried strawberries and black pepper in the pavlova. Then topped them with the balsamic black cherry reduction with vanilla mascarpone cream.

Recipe available on ABC!  


Maple Fennel Crème brûlée

Photo: The Great American Baking Show

Photo: The Great American Baking Show

One of my most surprising recipes I created for the show was the famous "meatball sugar" Maple Fennel crème brûlée. It's pretty funny how I came up with this recipe in the kitchen... I had my bottle of vanilla extract in one hand and start grabbing spices with my other hand throughout my pantry.

I first grabbed honey since I love the taste of vanilla and honey.. but that felt expected. Then I grabbed my maple syrup. I knew I had to include it somehow. Then I went through my savory spices and started to smell the vanilla, maple and spice combos. Black pepper... gross. Thyme... not quite right. Fennel! Wow! 

I took a little dollop of maple syrup and fennel then realized I was onto something! The deep flavor of the maple syrup and the earthiness and spice from the fennel was actually DELICIOUS. Don't knock it till you try it! ;) I then knew with vanilla it would create a great combination that reminds me of camping and being out in the woods. 

Here's where you can grab the recipe! ABC website


Matcha Cranberry Pistachio Cookies

I love a good sugar cookie recipe because I enjoy spicing things up wherever possible! I submitted one of my go to cookies during the holidays for NBC Asian America's segment for great cookie recipes for Santa! Like I told NBC, I love this recipe because you can get great flavors and a festive look without the gross unnatural food coloring that usually will go with Christmas goodies.

Just remember that the key to those great sugar cookie shapes are to keep your dough AS COLD AS POSSIBLE. Which means you will be mixing and chilling... rolling and chilling... cutting and chilling.. chilling and chilling... then chill before baking! When in doubt, chill away!

See the article it was featured in on NBC News here and below. 

Cranberry Pistachio Matcha Cookies
Makes 3-4 Dozen cookies depending on cookie cutters

  •  3 cups all-purpose flour
  • ½ teaspoon kosher salt
  • 3 teaspoons culinary matcha powder
  • ½ cup pistachios, roughly chopped
  • 1 cup dried cranberries, chopped
  •  ¼ cup fresh orange juice
  • 1 cup (2 sticks) unsalted butter, softened
  • 1 cup granulated sugar
  • 1 large egg, cold
  • 1 teaspoon vanilla extract
  • 5 ounces of white chocolate, melted

1.     In a small saucepan, add chopped cranberries and orange juice. Place over medium heat and bring to a simmer. Stir and cook while simmering for a minute or two. Remove from heat and set aside. After mixture cools down, strain the juice out of the berries. 

2.     In a medium bowl, add flour, salt, matcha powder and chopped pistachios and whisk together until incorporated then set aside.

3.     In a stand mixer bowl, add butter and sugar. Cream together with a paddle attachment on medium speed for a few minutes.

4.     With a rubber spatula, scrape down the sides of the bowl then turn mixer back on and beat in egg and vanilla extract until light and fluffy, another 2-3 minutes.  

5.     Scrape down the sides of the bowl again, turn the mixer on low then add in cranberries and the dry mixture a cup at a time until all the ingredients are mixed together. Don’t over mix. You should see cranberries speckled throughout and the dough should be a nice green color.

6.     Remove ½ of the cookie dough from the mixer bowl, form into a disc then wrap in plastic wrap. Repeat with the other portion of dough. Place into the freezer for 15 minutes to harden the dough quickly. If you aren’t in a hurry, place into the fridge for 35-40 minutes.

7.     Preheat oven to 325°F.

8.     Prepare your cookie sheet pans by lining with parchment paper. Place 1 disc of cookie dough on top and then add another piece of parchment paper on top so dough is sandwiched between the paper.

9.     Roll out dough so it is 1/4” thick. To ensure the dough rolls out evenly, I like to use ¼” wooden dowels on either side of the dough so the rolling pin will be even and stop before it gets too thin.

10.  Place the dough and sheet pan back into the freezer for 10 minutes to chill. Repeat with the other disc.

11.  After the flattened dough is hard, start to cut out your desired cookie shapes! I love using this recipe with a Christmas tree cookie cutter because of the fun green color. After cutting as many as you can, collect scraps, chill in the freezer and repeat steps 8-11 to use up remaining dough.

12.  Layout cut cookies on parchment paper lined sheet at least 1 inch apart. Cookies will be very nice and cold so shouldn’t spread much by the time you are baking them.

13.  Bake for 13-15 minutes until the edges start to slightly brown and will be hard to touch. Let cookies cool on the sheet for 10 minutes then finish cooling on wire racks.

14.  Once cookies have cooled completely, melt white chocolate either on a double boiler or with a microwave. If you’re doing it with a microwave, place chocolate into a glass bowl uncovered on high for 45-60 seconds stirring once, until chocolate can be stirred smooth.

15.  Make sure there is sheet pan under the wire rack before decorating with chocolate.

16.  Place chocolate into a piping bag or a ziplock bag. Cut off a small corner of the bag then squeeze with a quick waving motion across the cookie.

17.  Let white chocolate set in the fridge if in a hurry or set out for a few hours. Store dried cookies in an air-tight container for a week.


TRAVEL: Big Sur Anniversary

It was quite embarrassing that the hubby and I live in beautiful Southern California and haven't once driven up the coast together. We've definitely had our share of family trips up the coast more specifically in those all-inclusive Chinese tour buses! For our one year anniversary we decided to head up to Big Sur based on being told for years that it's possibly one of the most magical and beautiful places in California. After a 6 hour drive and short pit stop in Solvang, we arrived to paradise. 

The California coastline absolutely takes my BREATH away. The entire drive up I couldn't help but think I am so incredibly lucky to live within a tank of gas of all this. Not only is it the most beautiful drive we've done together, but can we talk about all the amazing food up in Big Sur? Holy cow. Every meal was mind-blowing. We visited the week of Thanksgiving so the weather was perfectly chilly and sunny. (Aside from the day we drove up which was a little cloudy/rainy.) 

I'm so thankful for all the amazing recommendations from friends below because we had the best time ever. If you have the opportunity, please make time for this drive and at the least head to the Big Sur Bakery for some delicious eats. You won't regret it! As for us, we've told ourselves we want to go back every year. I can't wait. :) 

STAY: 
We found a really good deal at the Ventana Inn and that provided a very preems/luxury getaway for the two of us. Love their comfy cabin-esq vibe and beautiful grounds. This place will cost you a pretty penny so a great option if you're going to treat yo-self. 

EAT: 

Big Sur Bakery - By far my FAVORITE place and an absolute must for breakfast AND dinner. Check the hours/days of operations and make sure to make a reservation in advance for dinner. You'll experience a deliciously rustic meal with all the right comfort foods. The pizza is to die for and since it was Thanksgiving, we went with the Pumpkin pie. I was licking the plate clean it was so friggin' good. Breakfast was just as delicious but if you're going for pastries, make sure to arrive early as they sell out of the good stuff FAST. 

Deetjens - Feels as if you are having an intimate candlelit dinner in someone comfortable cabin home. We went for dinner but they also offer brunch/breakfast. Food was fantastic. 

Sierra Mar at the Post Ranch Inn - Very upscale dining for Big Sur. Feels much "fancier" if you're looking for that but the food again is so so good. We went for lunch. You need to get the prefix course meal if you want a good table with a view. Burger was sooo yummy. 

The Restaurant at Ventana Inn - Fine option. We wanted something easy so stayed at the hotel for dinner one night. Can order a la carte just ask them for that option since the menu looks like prefix only. Enjoyed our meal but wouldn't go back. 

SEE / DO: 

You can seriously just drive North or South on CA-1 Highway and stop at dozens of viewpoints. There is no shortage of vistas so keep your camera ready. 

McWay Falls in Julia Pfeiffer Burns State Park - This is a SUPER simple walk that will take about 30 minutes to see a beautiful beach/waterfall. Look for parking on the street so you don't have to pay $10 at the gate. Really pretty views throughout the walk. 

Monterey Bay Aquarium - Drive North on the CA-1 for an hour and can spend a day in Monterey at Fisherman's Wharf or at the Aquarium! We went specifically to see the Sea Otters because they are the cutest little guys, EVER! Had fun seeing all the Finding Dory inspiration there, too! 

 
Lunch at Sierra Mar

Lunch at Sierra Mar

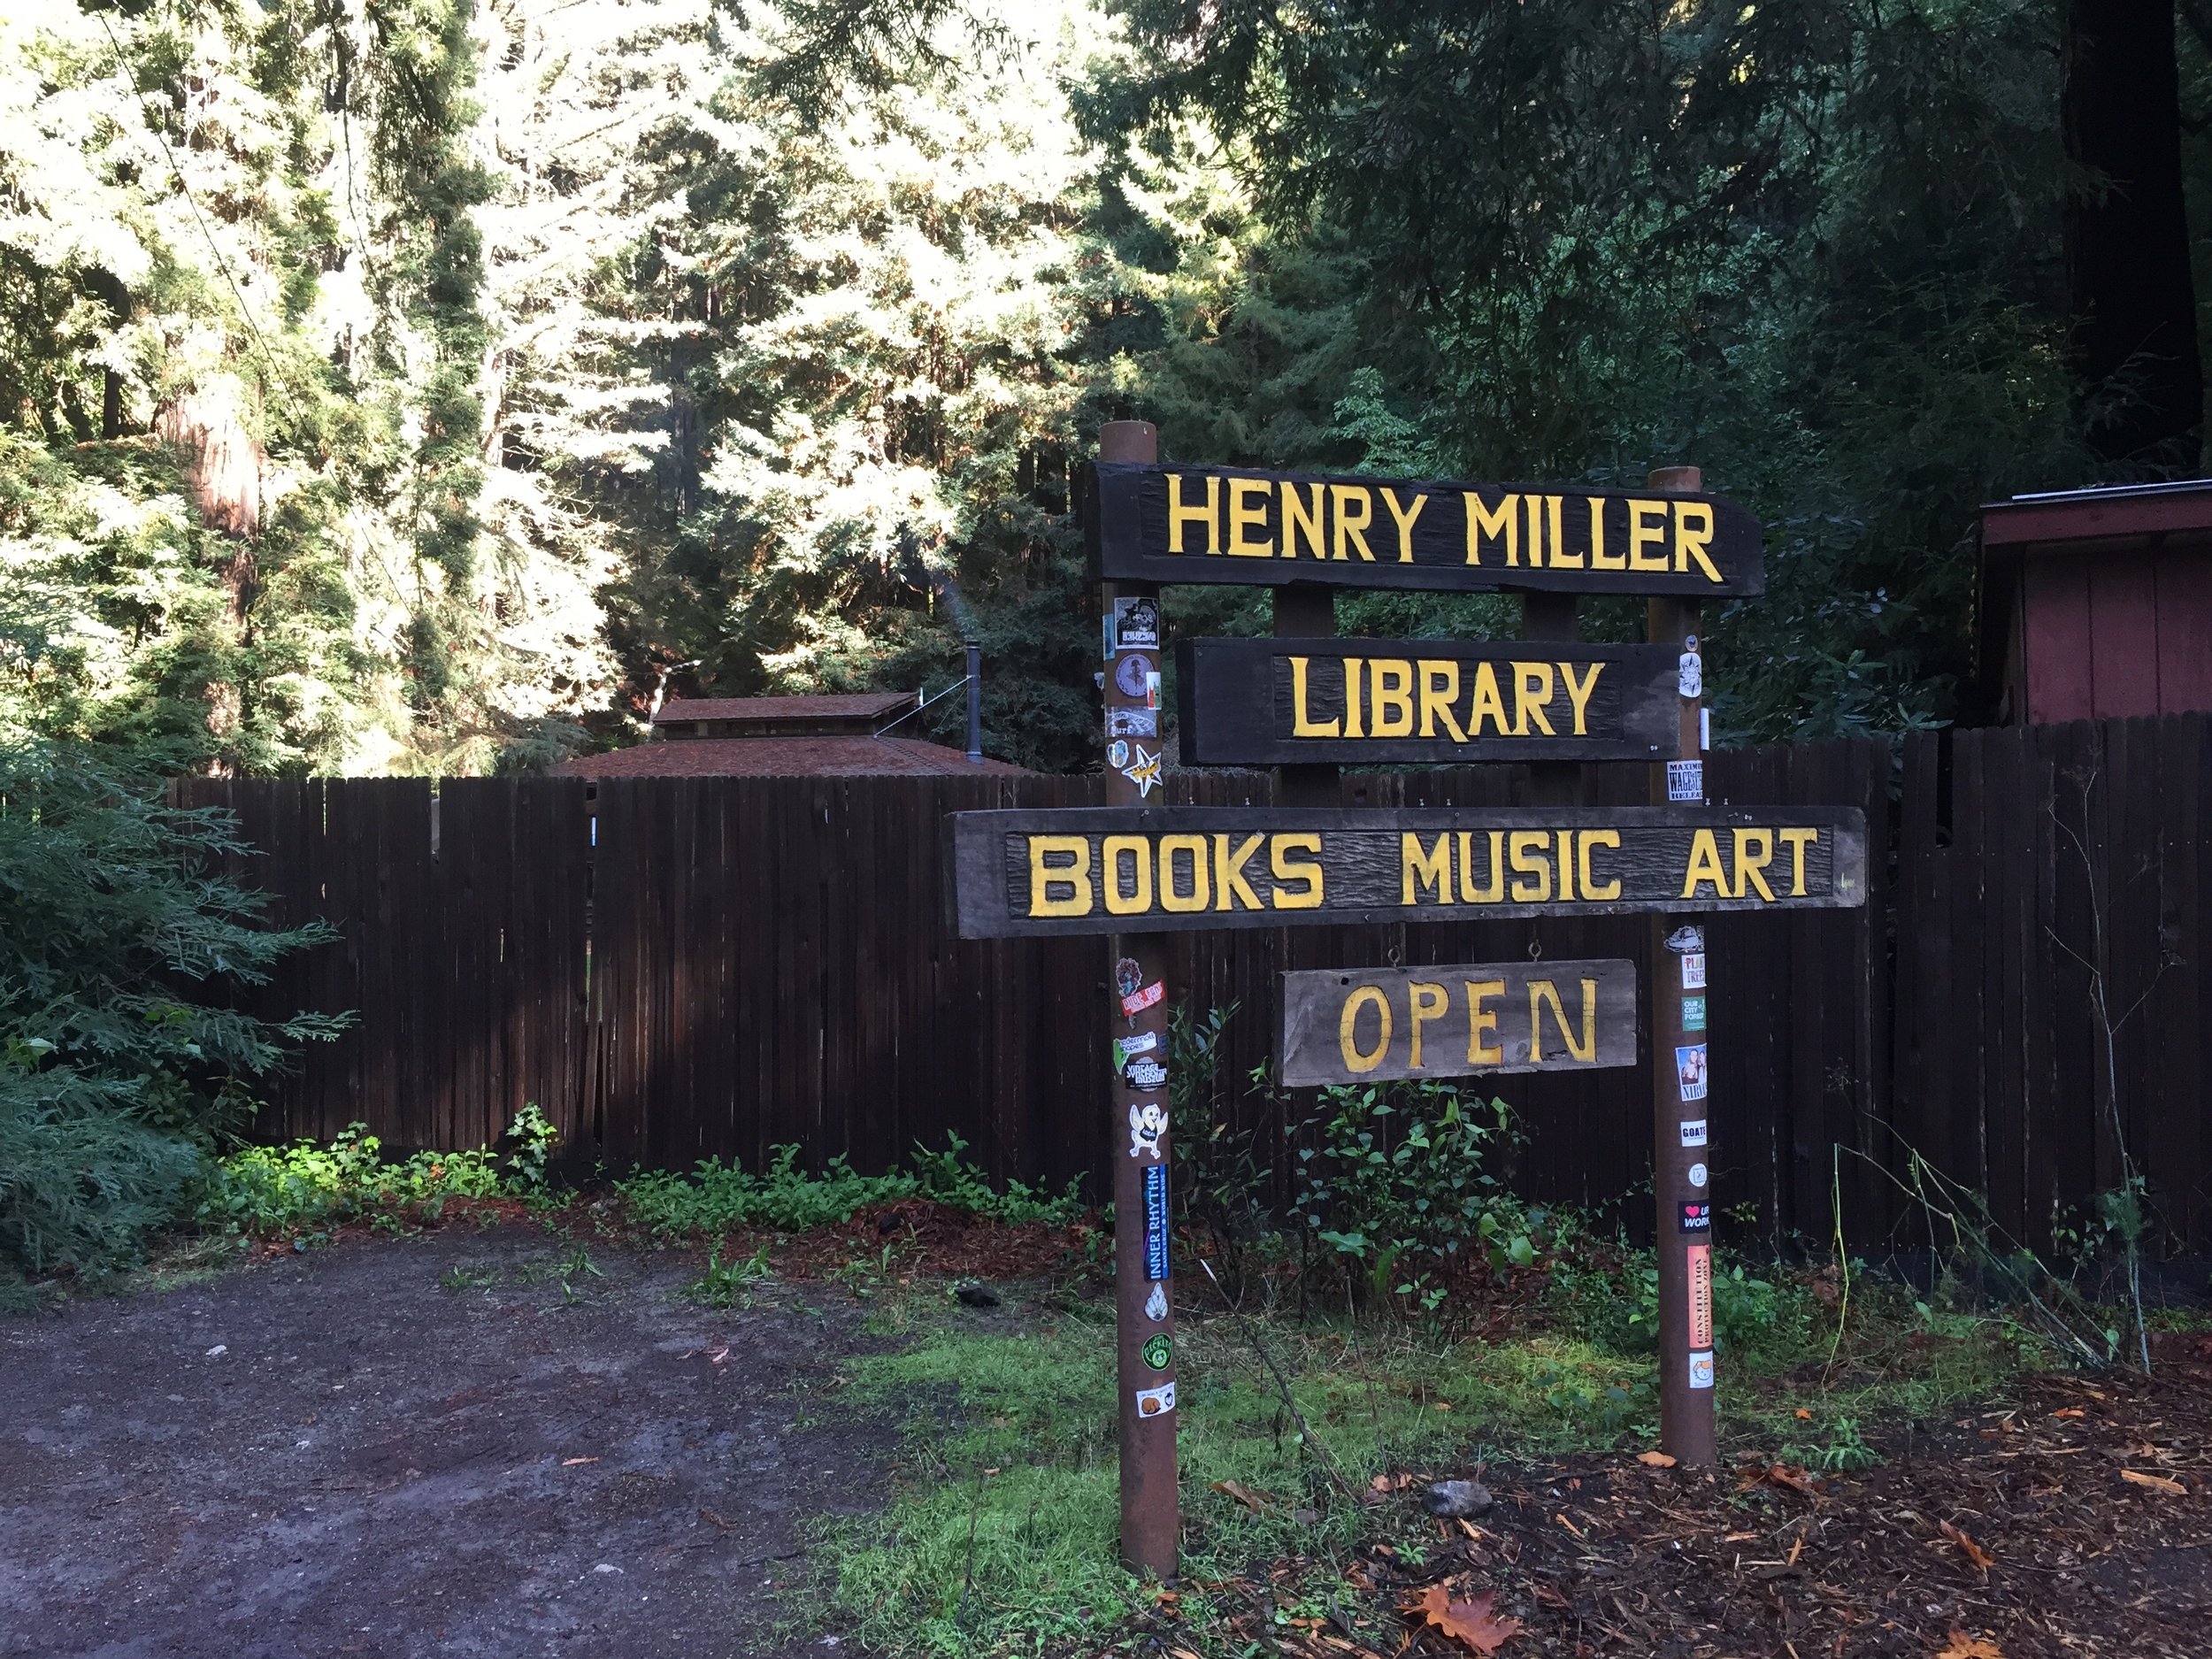
Henry Miller Library
Big Sur Bakery Pumpkin Pie

Big Sur Bakery Pumpkin Pie